 Pin It
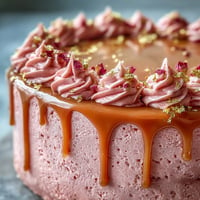
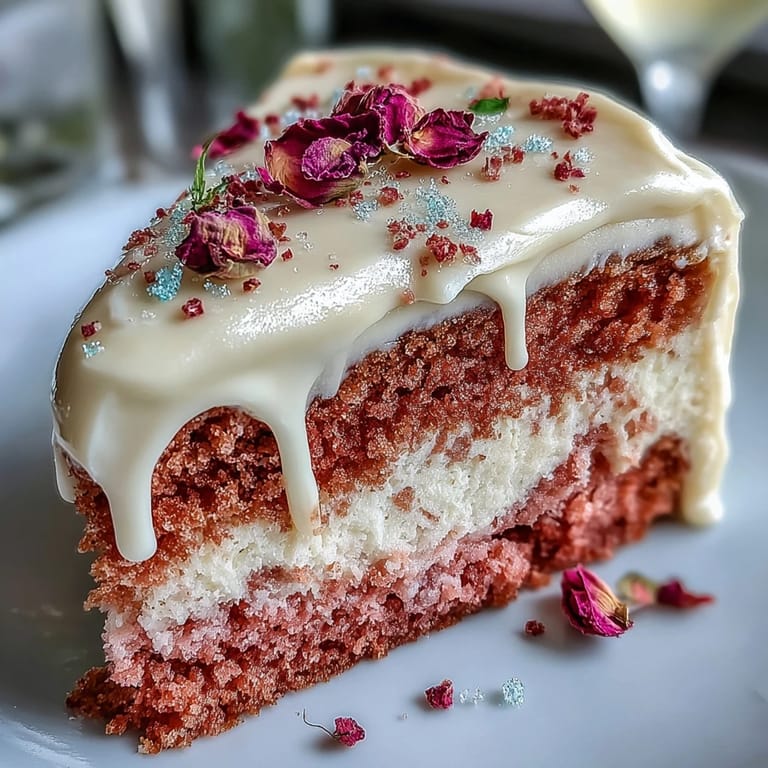
 The aroma of cake mingling with a hint of wine is the sort of unexpected joy that first greeted me when I tested out this Rosé Velvet Cake recipe. It wasn't a special occasion—just a rainy afternoon punctuated by the gentle fizz of rosé as I measured it for the batter. The bold pink hue in the bowl made me grin, imagining the surprise when I sliced into it later. Even if I splattered a little cream cheese frosting on my jeans, the prospect of gilding the cooled drips with edible gold quickly made me forget. There’s a touch of celebration baked right into this cake, even before the first bite.
I vividly remember assembling this for my cousin's bridal shower—the laughter echoing in the kitchen, frosting spoons disappearing, and a near-miss when someone almost dropped a layer while dancing to early 2000s pop. The best moment came when guests gasped at the golden drips sparkling in the afternoon light—making all the careful painting and whispers about whether the gold was real (it is, but edible!) entirely worth it.
Ingredients
- All-purpose flour: Sifting this with cornstarch lightens the crumb—don’t skip, it really makes the cake plush.
- Cornstarch: Just two spoonfuls ensure tenderness, a trick I learned from many lopsided cakes past.
- Unsweetened cocoa powder: Adds a subtle depth, not chocolate flavor—think elegant blush, not brown velvet cake.
- Baking soda: Makes the crumb airy; level your spoon so it doesn’t overpower the flavor.
- Salt: Don’t fear the pinch; it balances the sweetness and heightens the wine aroma.
- Unsalted butter: Let it come truly to room temperature for fluffiest results—in a rush, slice it thin and wait ten minutes.
- Granulated sugar & light brown sugar: The blend brings both lightness and complexity—don’t swap brown for all white, or vice versa.
- Eggs: Room temperature eggs mix more evenly—sitting them in warm water does the trick if you forget ahead of time.
- Rosé wine: Use something you’d happily drink—leftover from last Friday works wonders for flavor.
- Buttermilk: Key for a tender, moist crumb—if you run out, a tablespoon of lemon juice in regular milk is a quick fix.
- Vanilla extract: Don’t be shy; the subtle floral note rounds out the wine beautifully.
- Pink gel food coloring (optional): Only a drop or two is needed; too much makes it garish, not chic.
- Cream cheese: Full-fat, softened—cold cream cheese gives lumpy frosting, and trust me, you’ll regret it.
- Confectioners’ sugar: Sifted for silky frosting; patience pays off here.
- White chocolate chips & heavy cream: These make an elegant, glossy drip—let it cool slightly so the drips set perfectly down the cake.
- Edible gold luster dust & clear vodka/lemon extract: A dab of liquid makes a quick gold paint—don’t skip the drying time if you want tidy, sparkling streaks.
- Edible flowers or gold leaf (optional): These extras are pure joy, especially for a once-in-a-lifetime event like a shower.
Tired of Takeout? 🥡
Get 10 meals you can make faster than delivery arrives. Seriously.
One email. No spam. Unsubscribe anytime.
Instructions
- Get your pans and oven ready:
- Preheat to 350°F (175°C), grease and line three 8-inch round pans—the parchment makes unmolding drama-free.
- Mix your dry ingredients:
- Sift flour, cornstarch, cocoa, baking soda, and salt together—the airiness you see here is the secret to the cake’s plush finish.
- Cream the butters and sugars:
- Beat butter, granulated, and brown sugars until they’re pale and fluffy—the mix will smell like bakery mornings.
- Incorporate the eggs and vanilla:
- Add eggs one at a time, scraping the bowl between each, then stir in vanilla until light and unified.
- Blend the liquids:
- In a jug, whisk together rosé and buttermilk—the mix should blush faintly and smell like summer.
- Combine wet and dry, add color:
- Alternately mix flour and rosé-buttermilk into your butter base, starting and ending with flour; swirl in food coloring if you wish.
- Bake the layers:
- Divide the rosy batter into pans, smooth tops, then bake for 28–32 minutes—a skewer should emerge clean when pressed into the center.
- Cool and prep for frosting:
- Let cakes cool in pans 10 minutes before turning onto racks—resist the urge to frost while warm.
- Make the cream cheese frosting:
- Beat cream cheese and butter until creamy; gradually add powdered sugar, vanilla, and salt, mixing until light and fluffy.
- Assemble and frost:
- Layer and frost the cake, smoothing sides and chilling 30 minutes to lock in shape for the gold drip.
- Create the gold drip:
- Melt white chocolate chips and cream together over simmering water, cool until thickened slightly, then spoon around the cake edges for delicate drips; chill to set.
- Paint your gilded finish:
- Mix luster dust with vodka or lemon extract to make gold paint; use a small brush to gently gild each drip as they set firm.
- Finish with flair (optional):
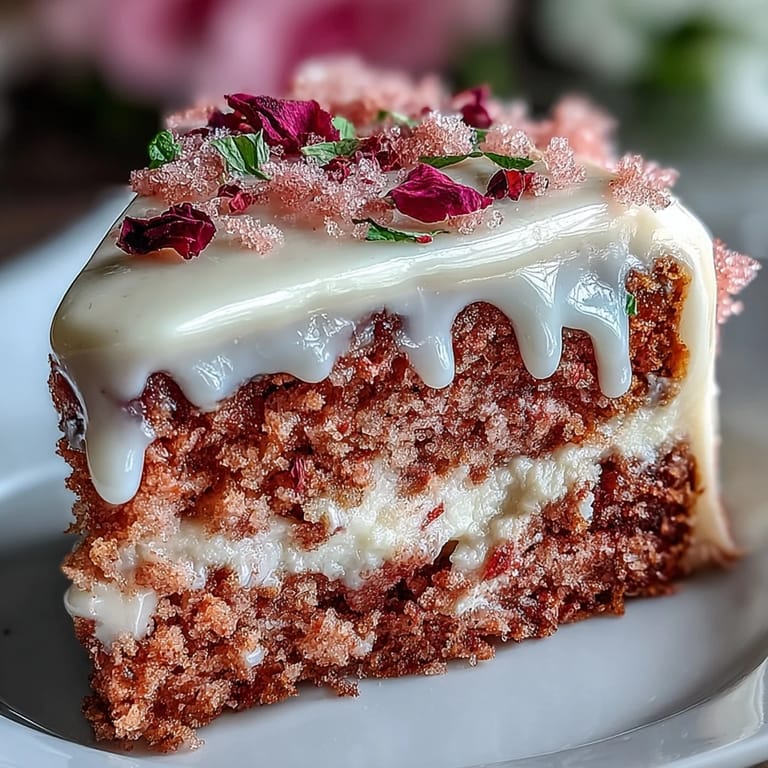
- Scatter over edible flowers or flecks of gold leaf for a crowning touch that’s as joyful as the reveal.
 Pin It
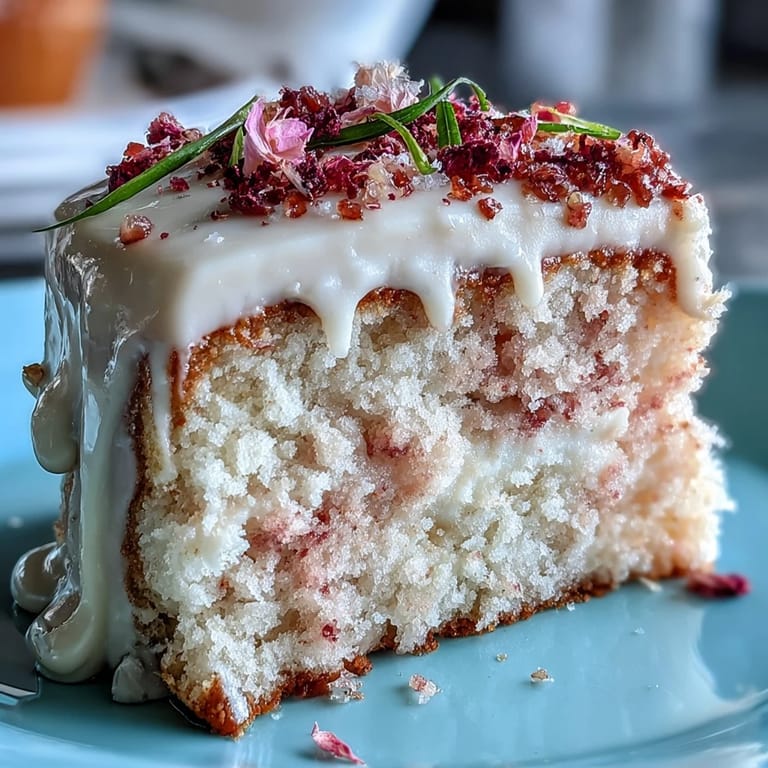
 After all the hands-on whisking and gold painting, I watched my friends circle the finished cake, phones at the ready—what was meant to be just a dessert turned into the centerpiece of so many happy photos and excited chatter. It’s these moments, where cake bridges celebration and memory, that make every step worth savoring.
Working with Rosé: Tips from My Kitchen
I used to worry that wine might overpower the cake, but with the right bottle the flavor is gentle and aromatic—never boozy. I’ve also learned that cheap or heavy, oaky rosé will muddle the finish, so light and fruity is the way to go. A quick splash into the bowl will fill your kitchen with that subtle, grown-up sweetness, which lingers just enough once baked.
Mastering That Gold Drip
Patience is the star ingredient for this part—wait until the white chocolate is just the right consistency and don't rush the painting step, or your brushstrokes will slide off. The first time, my drips pooled at the base, so now I always chill both cake and ganache before decorating. A little goes a long way, giving you sparkling elegance without any heavy-handed shine.
Frosting Failures and Triumphs
The most nerve-wracking part for many is getting that perfect creamy layer between and around cake tiers, but trust me—the trick is patience, and a long offset spatula. If your frosting feels soft, pop it (and the cake) in the fridge for ten minutes before your final smoothing session. Invite help for assembly if nerves strike, but never let anyone sneak a fingerful before you’ve finished decorating.
- Chill the assembled cake before adding the gold drip for best results.
- Use gel food color sparingly for an elegant blush instead of neon pink.
- Layer flavors by brushing the sponges with a touch of rosé before filling, if you’re feeling bold.
 Pin It
 Here’s to golden cake crumbs, joyful gatherings, and the kind of pink velvet celebration that leaves everyone grinning (and maybe with a dusting of gold on their noses).
Recipe FAQs
- → Can I make this without alcohol?
Yes. Substitute the rosé with pink grape juice or sparkling cider. If the swap adds sweetness, balance acidity with a splash of lemon juice or ensure buttermilk quantity remains to keep the crumb tender.
- → How can I achieve a natural pink hue?
Use a small amount of beetroot juice concentrate or freeze-dried raspberry powder to tint the batter naturally. Add sparingly to avoid changing moisture or introducing a strong vegetal flavor.
- → How do I prevent the gold drip from running too far?
Chill the frosted cake for at least 30 minutes so the surface firms. Cool the ganache until slightly thickened, then apply drips with a spoon or piping bag for control. Return the cake to the fridge to set before painting with gold.
- → What's the best technique for smooth cream cheese frosting?
Start with room-temperature cream cheese and butter, beat until fully combined and smooth, then add sifted confectioners' sugar gradually. Scrape the bowl often and chill briefly if the frosting becomes too soft for spreading.
- → Can I bake the layers ahead of time?
Yes. Bake layers, cool completely, wrap tightly, and refrigerate for up to 24 hours or freeze for longer storage. Bring refrigerated layers to room temperature before leveling and assembling for best texture.
- → How should leftovers be stored and served?
Store slices covered in the refrigerator for up to 4 days. For serving, remove 30–60 minutes beforehand to soften the frosting and allow flavors to become more pronounced.