 Pin It
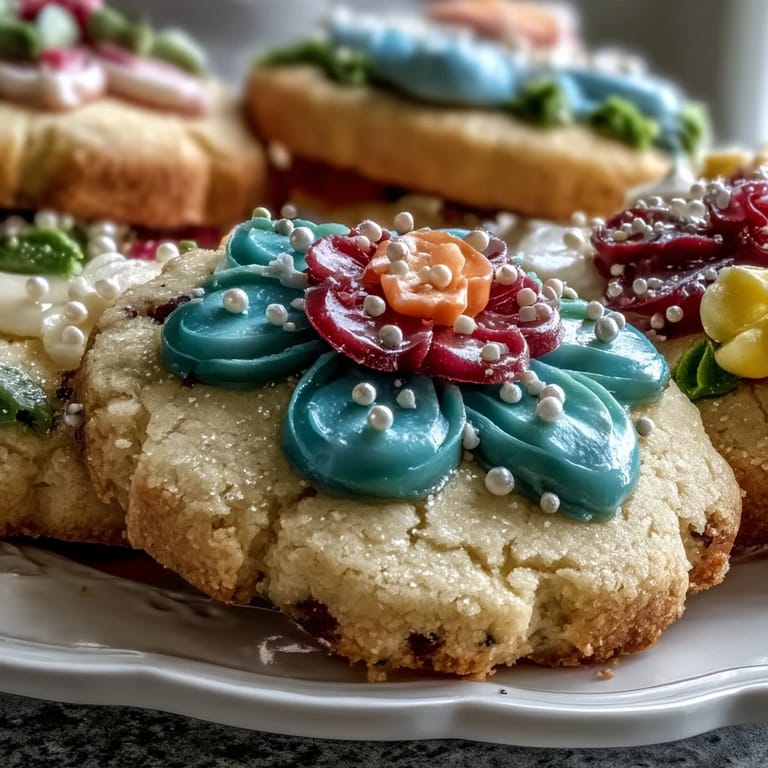
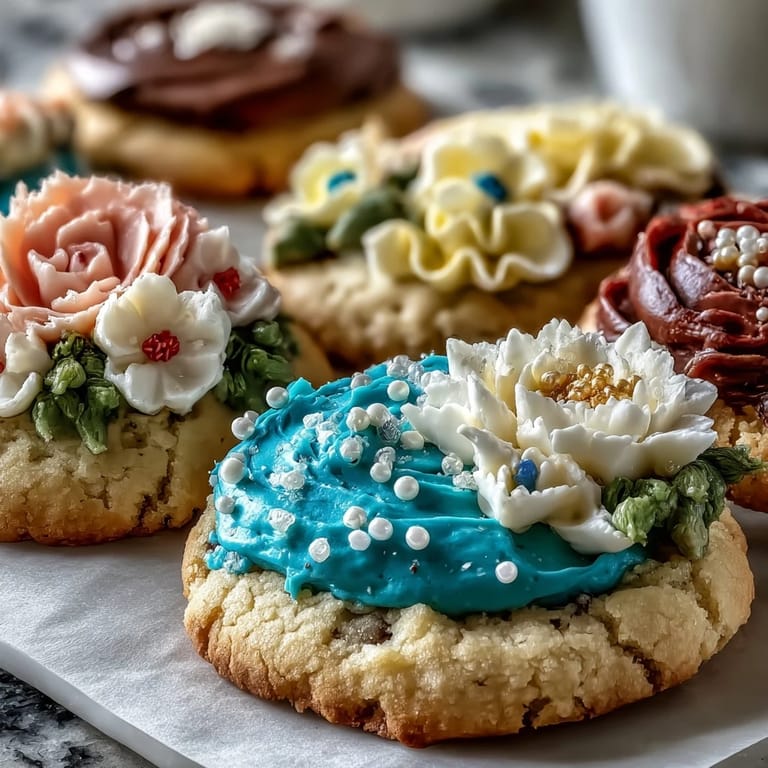
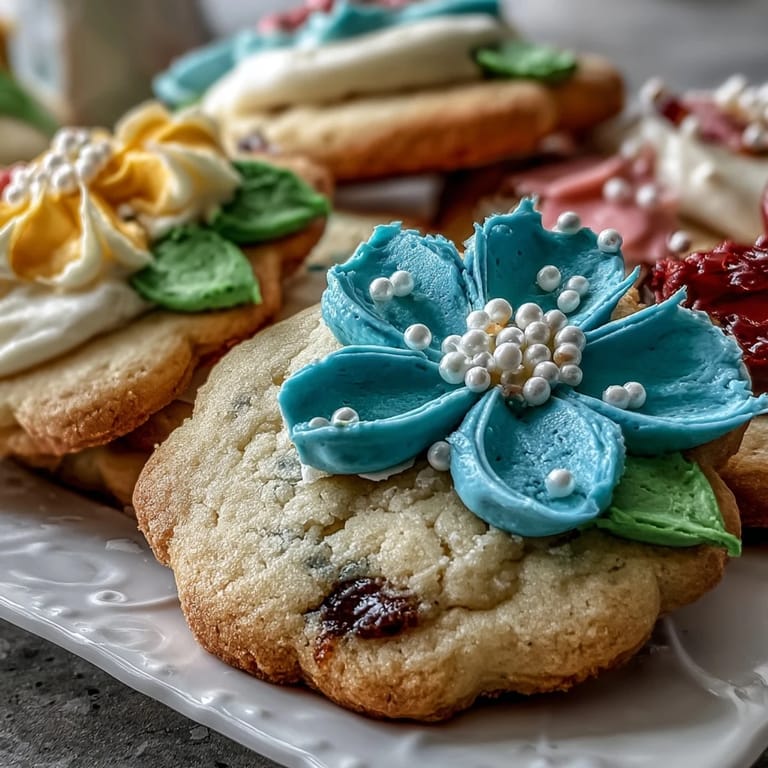
 The first time I made these flower-shaped shortbread cookies, the kitchen was alive with the scent of fresh butter and vanilla. I remember the delicate snap of cookie cutters against the dough and how each blossom looked almost too pretty to eat. Spring sunlight poured in, catching on bowls of pastel royal icing and turning the whole counter into a painter's palette. My curiosity got the better of me—I tried swirling a few colors and ended up with petals spattered in wild hues. These cookies seem to bring out playful creativity every single time.
Last year, I baked a batch for a neighborhood spring potluck and watched kids cluster around the table, each picking their favorite flower from the platter. Someone joked about the cookies looking "almost too beautiful to eat," and just like that, they became a centerpiece—snapped up before I even sat down. Moments like those remind me that sharing food is about more than flavor: it brings a little lightness to the room, especially when everyone gets creative with icing.
Ingredients
- Unsalted butter: Using high-quality softened butter gives the shortbread its signature melt-in-your-mouth texture—let it sit to room temperature so creaming is easy.
- Powdered sugar: This adds sweetness without grittiness; always sift it for both dough and icing for a flawless finish.
- Pure vanilla extract: Even a teaspoon unlocks floral sweetness—don't cut corners here.
- All-purpose flour: Measure carefully and sift to avoid dense cookies and ensure a tender crumb.
- Salt: Balances rich flavors; a touch makes the difference.
- Meringue powder: The secret to shiny royal icing—make sure yours isn't expired for guaranteed thick peaks.
- Water: Add gradually when making icing; too much ruins the texture, so drizzle in slow bursts.
- Food coloring: Gel colors give vibrant shades; a little goes a long way for spring-inspired designs.
Tired of Takeout? 🥡
Get 10 meals you can make faster than delivery arrives. Seriously.
One email. No spam. Unsubscribe anytime.
Instructions
- Cream the Butter and Sugar:
- Let's start by blending butter and powdered sugar until the mixture is pale and fluffy—it should look almost like whipped cream and smell sweetly rich.
- Add Vanilla:
- Mix in the vanilla extract, letting its floral aroma seep into every corner of the dough.
- Sift and Mix Dry Ingredients:
- Slowly sift in the flour and salt, then gently mix; stop as soon as the dough forms to prevent tough cookies.
- Chill the Dough:
- Divide it into two discs and wrap well—chilling for 30 minutes helps shapes stay crisp and makes rolling easier.
- Preheat Oven and Prepare Baking Sheets:
- Line your baking sheets with parchment and set the oven to 350°F so everything's ready when the dough comes out.
- Roll and Cut:
- On a lightly floured surface, roll a disc to 1/4 inch thickness—go slow so the dough stays smooth, and press out flower shapes with a sharp cutter.
- Bake:
- Arrange cookies 1 inch apart, bake for 10 to 12 minutes, and watch for gentle golden edges—let them cool a bit before moving so they stay intact.
- Prepare Royal Icing:
- Whisk powdered sugar and meringue powder together, then add water drop by drop until you reach a thick, glossy icing.
- Tint and Decorate:
- Divide icing for different colors—stir each shade in separate bowls, then fill piping bags and create floral masterpieces on cooled cookies.
- Let Icing Set:
- Allow cookies to dry until the icing is firm to the touch; tuck them away or show them off when the designs are fully set.
 Pin It
 There was one afternoon when my little cousin insisted every flower needed a sprinkle center, even though I doubted it would stick. His laughter echoed after we dropped a pearl into almost every cookie, and it made the results even more whimsical. Seeing everyone smile as they admired our handiwork, I knew these cookies were more than just treats; they became part of our spring tradition. Sometimes the brightest memories bloom from small moments like these.
Making the Most of Cookie Cutters
Using flower-shaped cutters is fun, but don't press too hard or twist or you'll ruin the petal edges. For intricate shapes, dust the blade with flour for clean releases. If you don't have a cutter, hand-cutting petals with a knife gives each cookie a touch of charm and individuality—all about the mood of the day in my kitchen.
Nailing the Royal Icing Details
Pipe outlines first, then fill in to prevent color from flowing over the edges. Swapping piping tips mid-way lets you create dots and swirls for extra flair. If your icing dries too quickly in the bowl, cover it with a damp towel to keep it workable until every cookie is done.
Final Touches and Storage Secrets
Once your cookies are decorated, patience pays off while the icing sets—rushing leads to blurry blooms and smudges. Stack cooled cookies with layers of parchment in an airtight tin so colors stay vibrant and cookies perfect for gifting or savoring.
- Use edible pearls or sprinkles for added sparkle.
- Add lemon or orange zest for a fresh twist in the dough.
- Don't forget to check meringue powder labels for hidden allergens.
 Pin It
 Whether they're a centerpiece or a sweet pick-me-up, these cookies bring color and joy to spring days. Share them with friends, or enjoy the quiet after decorating—the reward is always a plateful of hand-crafted blooms.
Recipe FAQs
- → How do you achieve a smooth shortbread dough?
Cream softened butter and powdered sugar thoroughly, then sift in flour and salt before mixing gently.
- → What gives the cookies their floral shape?
A flower-shaped cookie cutter is used on rolled dough to form distinct, spring-inspired designs.
- → How do you color royal icing for decoration?
Divide icing into bowls and mix in gel or liquid food colors until bright, festive hues are achieved.
- → How long should the icing set before storing?
Allow decorated cookies to rest until icing is completely dry, ensuring decorations remain intact.
- → Can I add extra flavors to the dough?
Citrus zest, such as lemon or orange, can be mixed in for a refreshing twist on classic shortbread.