 Pin It
 My sister texted me three weeks before her graduation asking if I could bring something special to the celebration dinner. I thought about elaborate cakes and complicated desserts, but then it hit me: tiny cheesecakes with little diploma picks, something people could actually hold and eat while mingling. The idea felt perfect because it was fancy enough to feel like a real celebration, but casual enough that nobody had to sit down with a fork and plate.
I remember standing in my sister's kitchen, pulling these warm little cups out of the oven and catching that smell—buttery crust mixed with rich, baking cream cheese—and just knowing I'd nailed it. When guests started picking them up at the party, nobody put just one back down; they'd eat one, pause, and reach for another.
Ingredients
- Graham cracker crumbs: Use the finely ground kind if you can find it, because chunky pieces won't compress evenly and you'll end up with a crust that crumbles when people bite into it—I learned that the hard way.
- Granulated sugar: For both crust and filling; the sweetness needs to balance the tang of cream cheese and sour cream perfectly.
- Unsalted butter, melted: Melted, not softened, because it needs to coat every crumb evenly and hold the crust together.
- Cream cheese, softened: Leave it on the counter for 30 minutes before mixing or you'll spend forever trying to beat out lumps.
- Large egg: This is what sets the filling and keeps it from being runny; don't skip it or double it.
- Vanilla extract: Real vanilla tastes noticeably better here, though regular will work fine if that's what you have.
- Sour cream: This adds tanginess and keeps the cheesecake from being cloyingly sweet; it also keeps the filling creamy instead of dense.
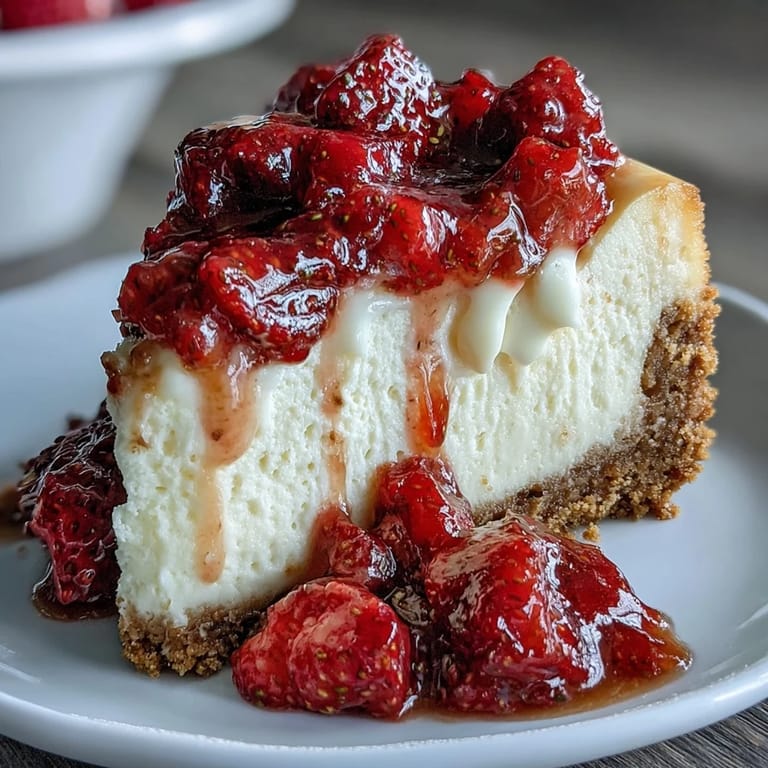
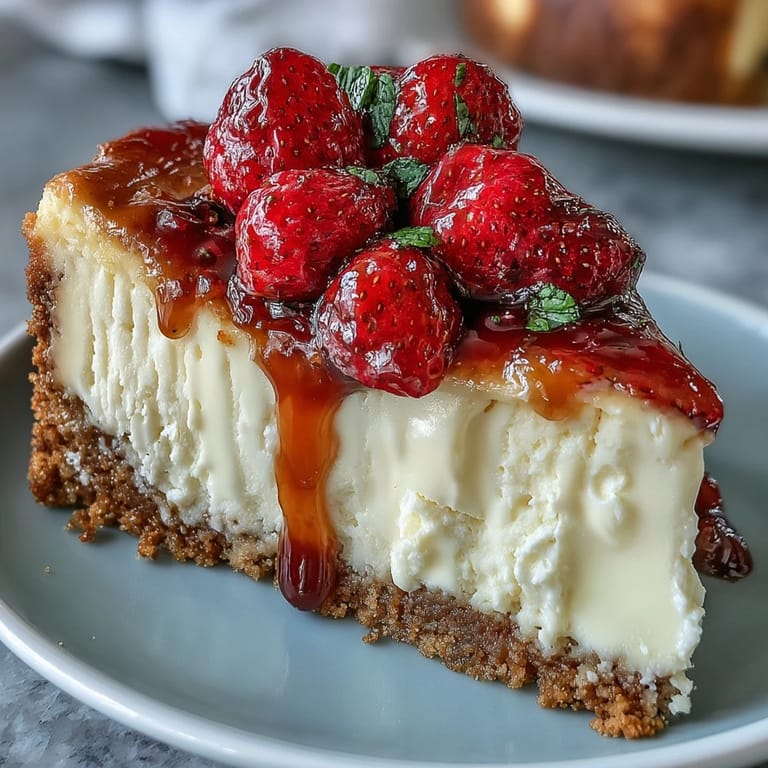
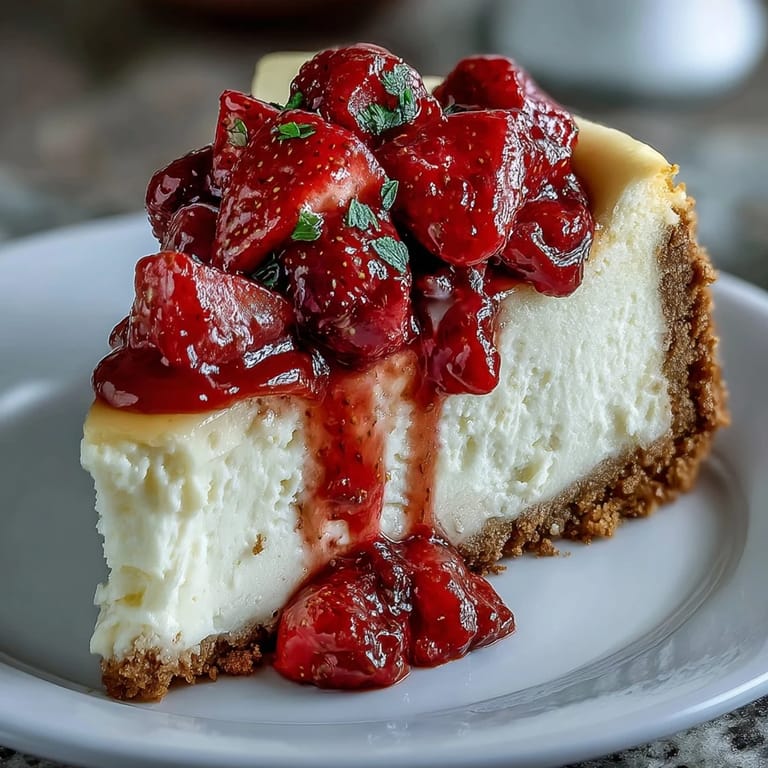
- Fresh mixed berries: Whatever is in season works beautifully; I've used blueberries, raspberries, strawberries, and even blackberries with equal success.
- Fruit preserves: Optional but worth it; they add a glossy finish that makes each bite look like it came from a bakery.
- Diploma picks: You can buy festive ones online or make your own with cardstock, a craft knife, and some twine.
Tired of Takeout? 🥡
Get 10 meals you can make faster than delivery arrives. Seriously.
One email. No spam. Unsubscribe anytime.
Instructions
- Prepare your station:
- Preheat the oven to 325°F and line your mini muffin pan with cupcake liners; this might feel fussy but it makes cleanup effortless and the liners help the little cakes bake evenly.
- Build the crust:
- Mix graham cracker crumbs, sugar, and melted butter in a bowl until it looks like wet sand, then press exactly 1 teaspoon into each liner. Bake for 5 minutes just to set it; this keeps the crust crispy instead of soggy.
- Make the filling:
- Beat softened cream cheese and sugar together until completely smooth (this takes about 2 minutes and matters more than you'd think), then gently fold in the egg, vanilla, and sour cream until just combined. Don't overmix or you'll trap air bubbles that make the tops crack.
- Fill and bake:
- Spoon about 1 tablespoon of filling into each liner, smoothing the tops with the back of a spoon, then bake for 13 to 15 minutes until the centers jiggle just slightly when you tap the pan. They'll look almost underbaked and that's exactly right.
- Cool with intention:
- Let them sit in the pan for 15 minutes (this prevents them from cracking as they set), then transfer to a wire rack to cool completely before chilling for at least an hour in the refrigerator.
- Finish with personality:
- Top each bite with a small handful of fresh berries, and if you want that bakery shine, warm the preserves gently and brush a tiny bit over the berries. Insert diploma picks just before serving so they don't get soggy.
 Pin It
 The moment that sold me on these was when my nephew (who refuses to eat anything that looks "fancy") grabbed two, ate them standing up, and asked if there were more. That's when I knew I'd created something people actually wanted to eat, not just something that looked good in a photo.
Flavor Variations That Work Beautifully
Once you master the basic recipe, you can absolutely riff on it. A little lemon zest added to the filling brings brightness without changing the texture, and if you want chocolate, drizzle a thin line over the top instead of mixing it in. I've also made a batch with a honey swirl by spooning a bit of honey on top of the filling before baking, and it added this floral sweetness that pairs perfectly with raspberries.
Storage and Make-Ahead Magic
These are genuinely better the next day because the flavors settle and the texture becomes even creamier. You can bake and chill them up to 3 days ahead, keep them in an airtight container in the fridge, and add the berries and diploma picks just before serving. If you're making them for a specific time, consider baking them the night before so you're completely stress-free the morning of the event.
Why This Recipe Works for Any Celebration
The genius of these bites is that they feel elevated and special without requiring you to have professional baking skills or spend your whole day in the kitchen. People see the diploma picks and the careful presentation and think you've been planning this for weeks, when really you could have made them yesterday afternoon. The fact that they're portable means guests can eat them with one hand while holding a drink or chatting with friends, which makes them infinitely more practical than a traditional cake at a standing celebration.
- You can make these a day or two ahead and simply add toppings before the party, turning them into a stress-free dessert option.
- The mini size means people won't feel guilty reaching for seconds, and there's something festive about individual portions that makes any gathering feel more special.
- Swap the diploma picks for any theme you love—birthday candles, paper hearts, tiny flags—and suddenly this recipe works for any occasion.
 Pin It
 These little cheesecakes have become my go-to for celebrations because they bridge the gap between impressive and actually doable. Every time I make them, I'm reminded that the best food isn't the most complicated—it's the kind that makes people smile.
Recipe FAQs
- → What is the best crust for these bites?
A buttery graham cracker crust provides a crisp and slightly sweet base that complements the creamy filling well.
- → Can I make these bites gluten-free?
Yes, by substituting regular graham crackers with gluten-free alternatives, you can easily make gluten-free bites.
- → How long should chilling last?
Chilling for at least 1 hour helps the filling set properly, ensuring a firm yet creamy texture.
- → What toppings work well besides fresh berries?
Fruit preserves brushed lightly over the berries add shine and extra flavor; lemon zest or chocolate swirls can also be used inside the filling.
- → What size pan is recommended?
A mini muffin pan with 24 cups is ideal for portioning and baking these bite-sized treats evenly.
- → Are these bites suitable for vegetarians?
Yes, all ingredients are vegetarian-friendly, including dairy and eggs.