 Pin It
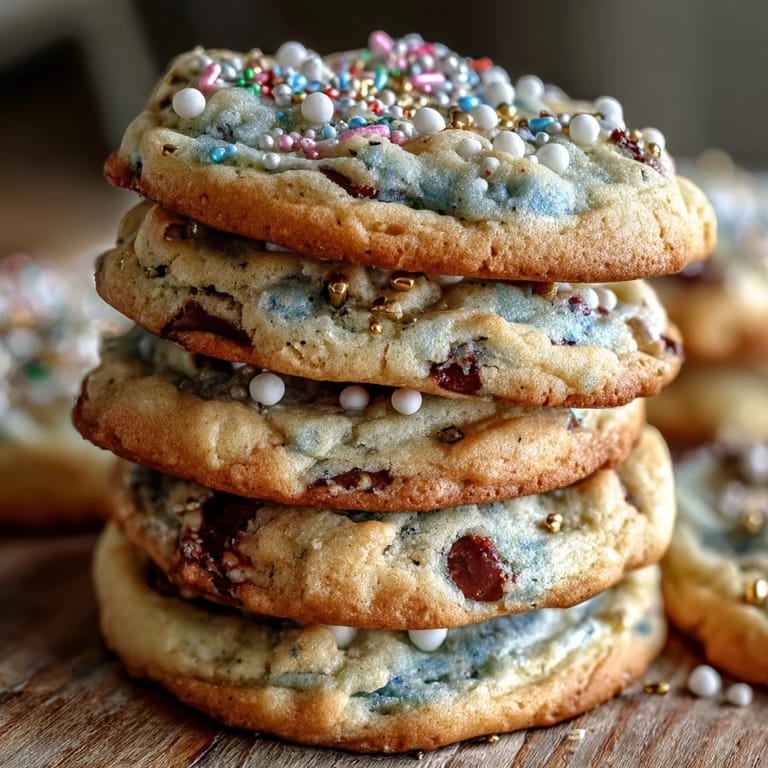
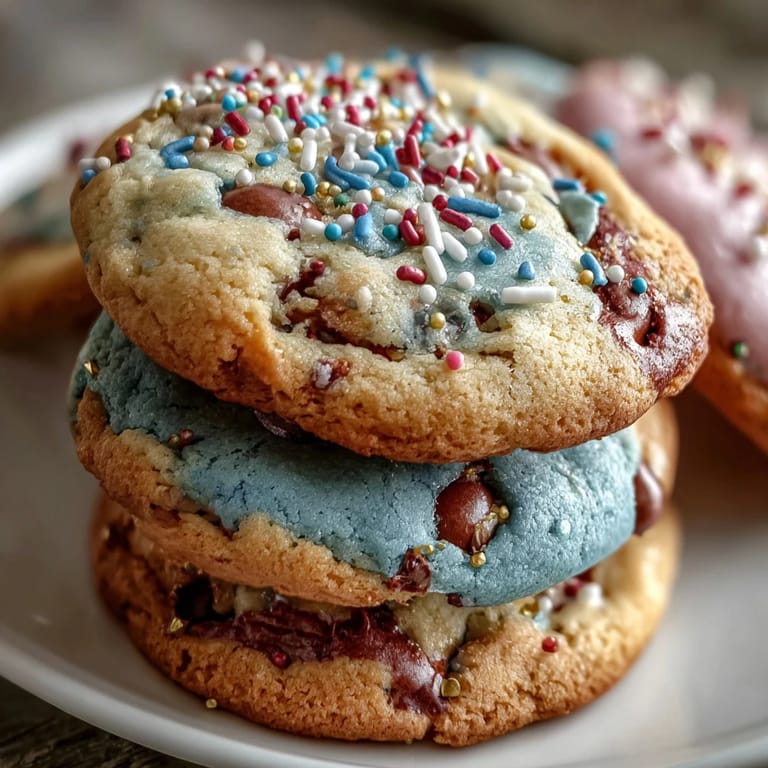
 My niece showed me a screenshot of Cookie Run Kingdom characters on her tablet, and I became oddly fascinated by those pastel-swirled cookies rendered in pixels. That evening, I found myself hunting through my pantry for gel food coloring, determined to translate screen fantasy into something edible and real. The result was these soft, buttery sugar cookies with whimsical pastel swirls that somehow taste even better than they look. They've become my go-to for birthdays, baby showers, and any moment that needs a little color and celebration. Now she asks me to make them before every special occasion.
Last month, I made a double batch for my coworker's surprise birthday at the office, and watching everyone's faces when they bit into the pastel spirals made me understand why home baking matters. One person genuinely teared up because her grandmother used to make spiral cookies, and these reminded her of that kitchen. It turned a Wednesday afternoon into something unexpectedly tender.
Ingredients
- All-purpose flour (2 1/2 cups): The foundation of structure; measure by spooning and leveling rather than scooping directly to avoid packing it down and making tough cookies.
- Baking powder (1/2 tsp): Just enough to give them a gentle lift without making them cakey.
- Salt (1/4 tsp): Enhances the butter flavor and balances sweetness in ways people rarely notice but absolutely taste.
- Unsalted butter (1 cup, room temperature): Room temperature is non-negotiable; cold butter won't cream properly and your cookies won't have that tender crumb.
- Granulated sugar (1 cup): White sugar gives you a cleaner canvas for the pastel colors and a delicate sweetness.
- Large egg: Room temperature works best; a cold egg can seize up the butter mixture.
- Vanilla extract (2 tsp) and almond extract (1/2 tsp optional): Pure extracts make all the difference; the almond adds a subtle sophistication if you're feeling fancy.
- Gel food coloring (pastel shades): Gel, never liquid, because liquid will thin your dough and ruin the texture; gel gives you vibrant colors without the extra moisture.
- Pastel sprinkles (1/4 cup): These are optional but they catch light beautifully and make people smile before they even taste.
Tired of Takeout? 🥡
Get 10 meals you can make faster than delivery arrives. Seriously.
One email. No spam. Unsubscribe anytime.
Instructions
- Mix your dry team:
- Whisk flour, baking powder, and salt together in a medium bowl and set it aside. This prevents lumps and distributes the leavening evenly.
- Cream butter and sugar into clouds:
- Beat the room-temperature butter and sugar together for about 2-3 minutes until it's pale, fluffy, and almost mousse-like. Listen for the mixer to change pitch slightly; that's when you know it's aerated enough.
- Add your wet ingredients:
- Drop in the egg, vanilla, and almond extract if you're using it, mixing until everything looks combined and creamy. Don't skip scraping down the sides of the bowl.
- Gently marry wet and dry:
- Add your flour mixture to the butter mixture and mix just until you see no white flour streaks. Overmixing develops gluten and makes tough cookies; stop while you still see a few flour specks.
- Paint your palette:
- Divide the dough into 3 or 4 portions depending on how many colors you want. Add a tiny drop of gel food coloring to each portion and knead gently with your fingers until the color is even; the warmth of your hands helps distribute it.
- Twist into a story:
- Roll each colored portion into a rope about 12 inches long on a clean counter. Gently lay them side by side and twist them together loosely; tight twisting compresses the dough and loses that delicate texture.
- Create your log and chill it:
- Roll the twisted ropes into a cohesive log, wrap tightly in plastic wrap, and refrigerate for at least 2 hours. This resting time is essential; cold dough slices cleanly and holds its shape while baking.
- Slice and dress for the occasion:
- Preheat your oven to 350°F and line baking sheets with parchment. Slice the chilled log into 1/4-inch thick rounds, space them 2 inches apart, and top with sprinkles if desired.
- Bake with attention:
- Bake for 10-12 minutes until the edges just barely turn golden. The centers will look almost underdone; that's exactly right and they'll firm up as they cool.
- Cool with patience:
- Let them rest on the baking sheet for 5 minutes before transferring to a wire rack. This prevents them from breaking and allows the bottom to set slightly.
 Pin It
 There's something almost meditative about the few hours between mixing dough and pulling cookies from the oven, watching the colors deepen slightly as the heat works through them. My kitchen smelled like butter and vanilla for an entire evening, and somehow that became part of the memory too.
The Secret to Perfect Pastels
Gel food coloring might seem like a tiny detail, but it's genuinely the difference between pastel cookies and dull ones. Liquid coloring waters down your dough and creates a grainy texture, while gel adds vibrant color without any liquid. I keep a set of pastel-specific gels in my baking cabinet now because they mix toward softer hues naturally, even with just a small drop. You can also add citrus zest—lemon or orange—to coordinate the flavor with the visual colors, which feels intentional and thoughtful.
Storage and Gifting
These cookies stay soft for up to 5 days in an airtight container at room temperature, which means you can actually bake them ahead without stress. I've found that stacking them with parchment between layers prevents breakage and keeps them looking pristine. For gifting, they're beautiful in a clear container with a pastel ribbon, and people always assume they're more complicated to make than they actually are.
Why This Recipe Works
The almond extract is optional, but I've learned it adds a subtle sophistication that makes people pause and ask what that delicate flavor is. The butter-to-sugar ratio creates a cookie that's tender but structurally sound, so the swirls don't disappear during baking. These aren't fragile cookies; they're genuinely sturdy enough to decorate, wrap, or travel to a party without falling apart.
- Always chill your dough for the full 2 hours; rushing this step means the colors blur together and the slices don't hold their shape.
- If you want sharper color definition, twist your ropes loosely and avoid overworking them.
- These freeze beautifully for up to 2 months, so you can make them weeks ahead of a party.
 Pin It
 These cookies are proof that simple techniques can create something whimsical and memorable. Make them, watch people smile, and let the colors do their magic.
Recipe FAQs
- → How do I achieve the pastel swirl effect?
Divide the dough into portions, tint each with gel food coloring, then twist the colored ropes together before chilling and slicing.
- → Why is chilling the dough important?
Chilling firms the dough, making it easier to slice thin rounds without losing the swirl pattern during baking.
- → Can I omit the almond extract?
Yes, almond extract is optional and can be left out or replaced with additional vanilla for a milder flavor.
- → How long should I bake these cookies?
Bake at 350°F (175°C) for 10-12 minutes until edges just begin to turn golden to maintain softness.
- → How can I store the cookies to keep them fresh?
Store the cooled cookies in an airtight container at room temperature for up to 5 days or freeze up to 2 months.
- → Are pastel sprinkles necessary?
Sprinkles add festive color and texture, but the cookies are delightful without them if you prefer a simpler look.