 Pin It
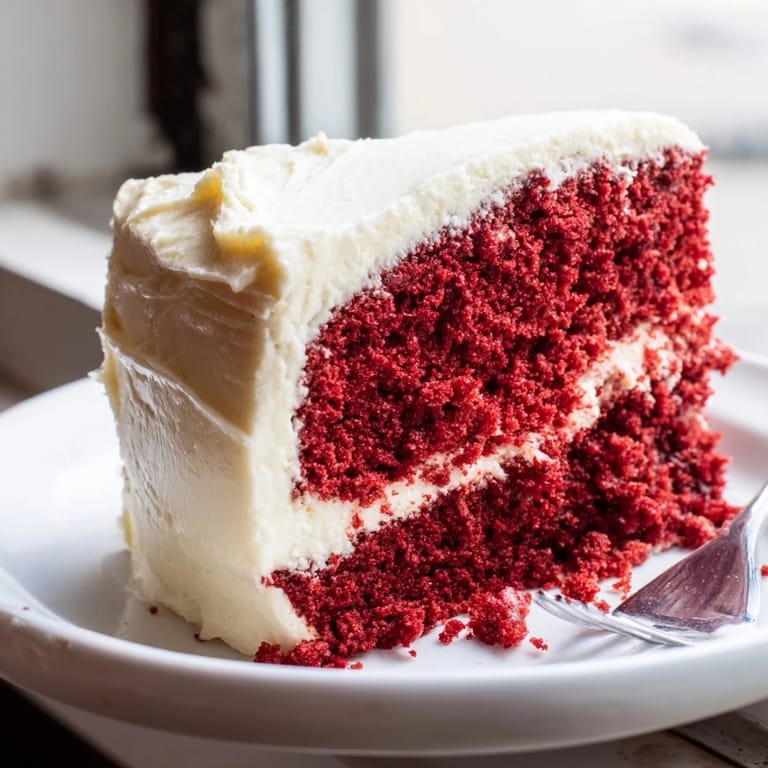
 The first time I attempted red velvet cake, I stared at that shocking red batter in genuine confusion, wondering how something so vibrant could transform into something so elegant. My grandmother had mentioned it was the cake people saved for really big moments, the kind that made a kitchen smell like celebration before the oven even beeped. There is something almost magical about watching those deep crimson layers rise, knowing you are about to create something that looks like it belongs in a bakery window. The tang from buttermilk and cream cheese gives it this personality that regular chocolate cake just cannot match.
I made this cake for my sister is birthday last year, doubling the recipe because her apartment has this tiny oven that barely fits one cake pan. We ended up with batter everywhere, flour on the ceiling, and the most hilarious photos of me trying to frost a slightly lopsided three-layer creation at midnight. She still talks about how the frosting-to-cake ratio was absolutely perfect, and honestly, that is the kind of feedback that keeps you baking red velvet even after the kitchen cleanup took three times longer than the actual cake baking.
Ingredients
- All-purpose flour: The foundation that gives structure to those velvety layers
- Unsweetened cocoa powder: Just enough to hint at chocolate without overwhelming
- Baking soda: Works with that vinegar to create the signature tender crumb
- Salt: Essential for balancing the sweetness and enhancing flavors
- Granulated sugar: Sweetens while helping create that beautifully tender texture
- Unsalted butter: Room temperature is non-negotiable for proper creaming
- Large eggs: Also at room temperature to emulsify properly with the butter
- Buttermilk: The secret ingredient that creates moisture and subtle tang
- Vanilla extract: Pure extract makes a noticeable difference in the final flavor
- White vinegar: Reacts with baking soda for extra tenderness and height
- Red food coloring: Gel coloring gives that deeper, more professional red hue
- Vegetable oil: Keeps the cake incredibly moist for days
Tired of Takeout? 🥡
Get 10 meals you can make faster than delivery arrives. Seriously.
One email. No spam. Unsubscribe anytime.
Ingredients for the Cream Cheese Frosting
- Cream cheese: Must be fully softened to prevent any lumpy frosting disasters
- Unsalted butter: Again, room temperature makes all the difference
- Powdered sugar: Sifting first saves you from gritty frosting emergencies
- Vanilla extract: Rounds out the tangy cream cheese flavor beautifully
- Salt: A tiny pinch keeps the frosting from being cloyingly sweet
Instructions
- Preheat and prep your pans:
- Heat your oven to 350°F and generously grease two 9-inch round pans, then dust them with flour for easy release later.
- Whisk the dry ingredients:
- Sift together flour, cocoa, baking soda, and salt in a medium bowl to ensure no lumps make it into your smooth batter.
- Cream the butter and sugar:
- Beat sugar and softened butter until pale and fluffy, then add eggs one at a time, letting each fully incorporate before the next.
- Add oil and flavorings:
- Pour in vegetable oil, vanilla extract, and white vinegar, mixing until everything is beautifully combined.
- Create the red mixture:
- Whisk buttermilk and food coloring in a small bowl until you have that stunning ruby red liquid.
- Combine wet and dry:
- Add dry ingredients in three parts, alternating with the red buttermilk mixture, starting and ending with the dry ingredients while mixing gently.
- Bake the layers:
- Divide batter between your prepared pans and bake for 28 to 30 minutes until a toothpick in the center comes out clean.
- Cool completely:
- Let the cakes rest in pans for 10 minutes before turning them onto wire racks to cool entirely before frosting.
- Make the frosting:
- Beat softened cream cheese and butter until smooth, then gradually add sifted powdered sugar, vanilla, and salt until light and fluffy.
- Frost the cake:
- Once cakes are completely cool, spread frosting between layers, then cover the top and sides with that luxurious cream cheese mixture.
 Pin It
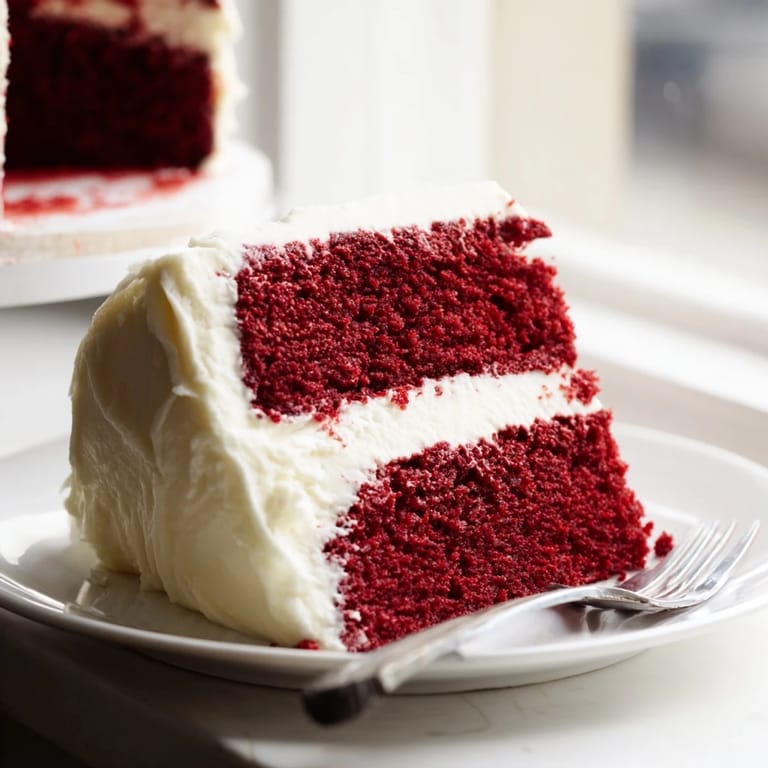
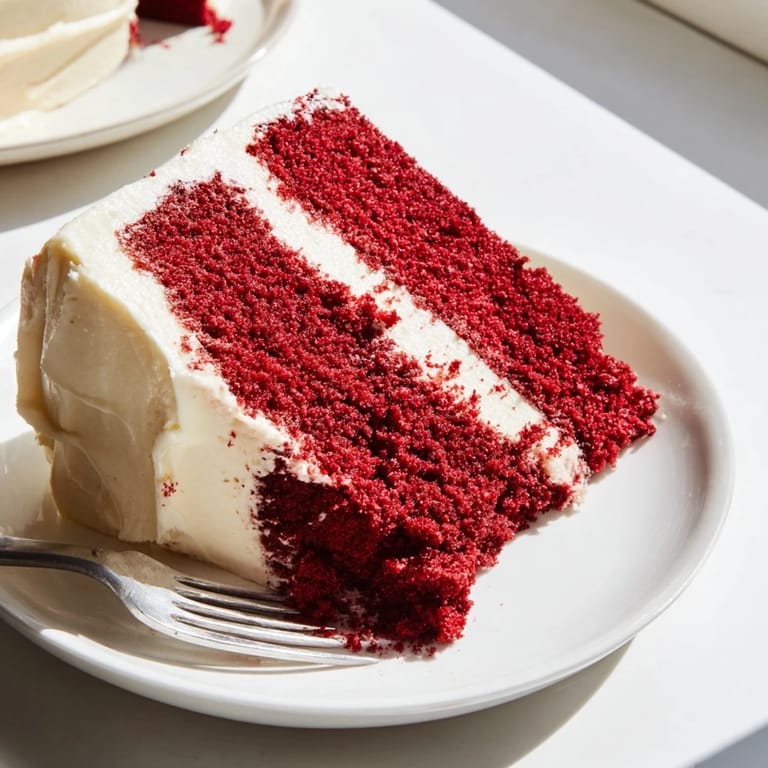
 This red velvet has become my go-to for celebrations because it never fails to make people pause and smile when they see those striking red layers. There is something about slicing into that cake that feels like unwrapping a present, revealing that perfect cream cheese frosting sandwiched between vibrant crimson layers. My neighbor actually asked if I could teach her how to make it after trying it at our summer block party.
Getting the Red Right
Red food coloring can be tricky, and I have definitely ended up with pink cake more times than I care to admit. Gel coloring is concentrated and gives you that deep restaurant-quality red without needing half a bottle of liquid coloring. Start with less than you think, then add more as you go, because you can always add more but you cannot take it back once that batter is bright red.
Frosting Like a Pro
The cream cheese frosting is honestly my favorite part, and I have been known to make extra just so I can eat what does not fit on the cake. Chill your frosted cake for about 15 minutes before serving to help the frosting set, which makes cutting cleaner slices so much easier. A hot knife wiped clean between cuts also helps you get those picture-perfect restaurant-style slices.
Make Ahead and Storage
You can bake the cake layers a day ahead and wrap them tightly in plastic wrap at room temperature. The frosting can also be made ahead and stored in the refrigerator, then brought to room temperature and whipped again before using. Once assembled, this cake actually tastes better the next day as the flavors meld together.
- Bring refrigerated cake to room temperature for 30 minutes before serving
- Place a slice of bread in the container to keep cut cake moist
- The unfrosted layers freeze beautifully for up to three months
 Pin It
 Every slice of this red velvet cake feels like a little celebration, whether it is for a birthday or just a Tuesday night dessert. I hope it becomes one of those recipes you turn to whenever you want to make something truly special.
Recipe FAQs
- → What gives red velvet its distinct flavor?
The unique taste comes from the combination of cocoa powder, buttermilk, and a touch of white vinegar. This creates a subtle tang that balances the sweetness and makes the flavor profile unmistakable.
- → Why is my cake not red enough?
Traditional liquid food coloring may produce a softer red hue. For vibrant results, use gel food coloring which offers more concentrated pigment. Start with a small amount and add more until you achieve your desired shade.
- → Can I make red velvet ahead of time?
Absolutely. The unfrosted layers can be wrapped tightly and stored at room temperature for up to 2 days or frozen for up to 3 months. Frost just before serving for the freshest taste and texture.
- → How do I know when the cake is done baking?
Insert a toothpick into the center of the cake. If it comes out clean or with just a few moist crumbs, the cake is ready. The top should spring back lightly when touched gently.
- → What's the best way to store this cake?
Keep it refrigerated due to the cream cheese frosting. Cover well with plastic wrap or place in an airtight container. It stays fresh for up to 5 days. Bring to room temperature 30 minutes before serving for the best texture.
- → Can I use a different frosting?
While cream cheese frosting is traditional, you can substitute with ermine frosting (cooked flour frosting) or a Swiss meringue buttercream. However, the tangy cream cheese pairing is what makes this classic combination timeless.